Contact
Journal
Why Wwise for 3D Interactive Music Experiences
February 12, 2021
We made an app which is a Interactive 360 Music Video for Blake Ruby’s song Dirty Laundry. Our Co-Founder, Julian Messina, wrote extensively about how we made it, originally published to the Wwise Blog→.
Hi, my name is Julian Messina and I'm an Audio Engineer. My business partner Robert Coomber and I collaborated with musician Blake Ruby to create a 360 immersive musical experience and this article is about why we chose to use Wwise. We will explore our equipment setup and how we problem solved to create the best experience for Blake's fans.
Introductions
Robert and I are both audio engineers and recent graduates of Belmont University. Like most, we’re huge fans of music and visual arts. Seeing how the two go hand-in-hand, we dedicate ourselves to looking for innovative ways that emerging technology elevates a user’s experience of the two. As it stands today we feel that spatial audio and game engines are the next frontier in creating beautiful presentations for music and the visual arts. With this, we created an immersive project called ‘Dirty Laundry by Blake Ruby’.

The story: Why 3D Audio?
Before Rob and I collaborated on this immersive music video, I worked on Blake Ruby’s record “A Lesser Light to Rule The Night”. While working on his record I noticed that Blake recorded a large number of his parts on his own. It struck me as an opportunity to share that side of him with his fans who would have otherwise not known just how talented he was in an immersive 360 environment. Rob and I knew this wasn’t going to be an easy task, but having the artist as an excited and patient participant made the project much smoother.
We watched countless other 360 experiences before kickstarting our project ‘Dirty Laundry’. Rob and I felt generally disappointed, particularly when it came to the audio. The audio of the 360 projects we watched in this process would either be mono, stereo, or if it was spatial, would sound filtered, unbalanced, and too dynamic. We both feel that when it comes to the music, it’s unacceptable to create an expectation that it’s going to be a lesser experience.
We saw this project as an opportunity to deliver an incredible immersive 360 audio experience. Working with Blake was a chance to take careful time creating a proper audio representation for his listeners. Our first challenge was to figure out where we would house the project for the best experience. Housing the content through a downloadable application allowed for a better brand and audio experience. We could have hosted the 360 experience on Facebook or YouTube but we were striving for the best. We also were faced with the challenge that most consumers don’t own headsets. While Mobile VR is beginning to make waves through systems like Oculus Quest, we knew that not all of Blake’s fans would have immediate access to this technology. Knowing that we weren’t going to be reaching “gamers” only, we decided to deploy on iOS.

Choosing Wwise
We started looking at using Unity for our project, but we slowly discovered that it was limited in what we wanted, high-quality sound in the form of higher channel counts, we considered alternatives. Using Wwise meant we could deliver the final mix as a 16 channel ambisonic audio. Anything less would have resulted in a significant degradation in audio quality and representation of the mix. After our experience, Rob and I reflected on how the Wwise ecosystem gives immersive music creators even more flexibility and uncompromising sound. This became more evident as the programming side of the application began to ramp up.
The project was complex with a ton of variables, from production, pre-production, set-up, design, to implementation. This meant a lot of time was spent on the front and back end, especially when we considered this had to live in iOS. With all its complexity, the one thing we didn’t have to worry about was how things were going to sound. When it comes to working with artists, creating a sound that is as close to, if not identical to the original sound is a huge part of our job as audio engineers. We are grateful we could rely on Wwise to take care of that. Especially as we are exposing many of Blake’s fans to high-fidelity, immersive music for the first time - making it powerful and memorable.

The Production: Our Experience
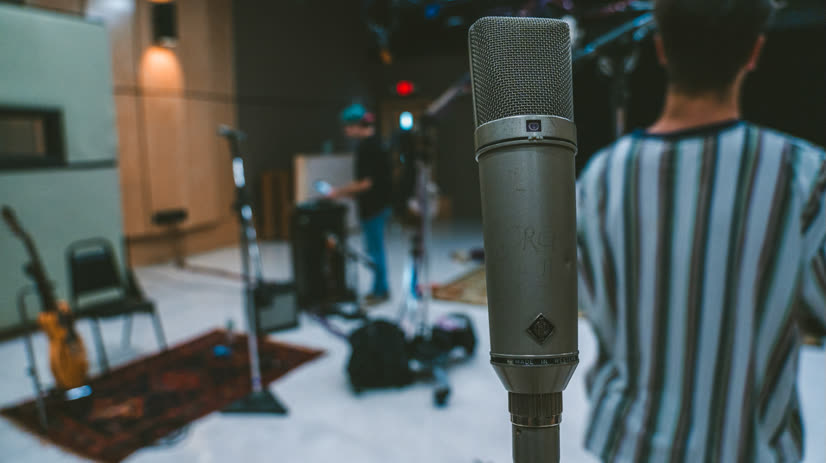
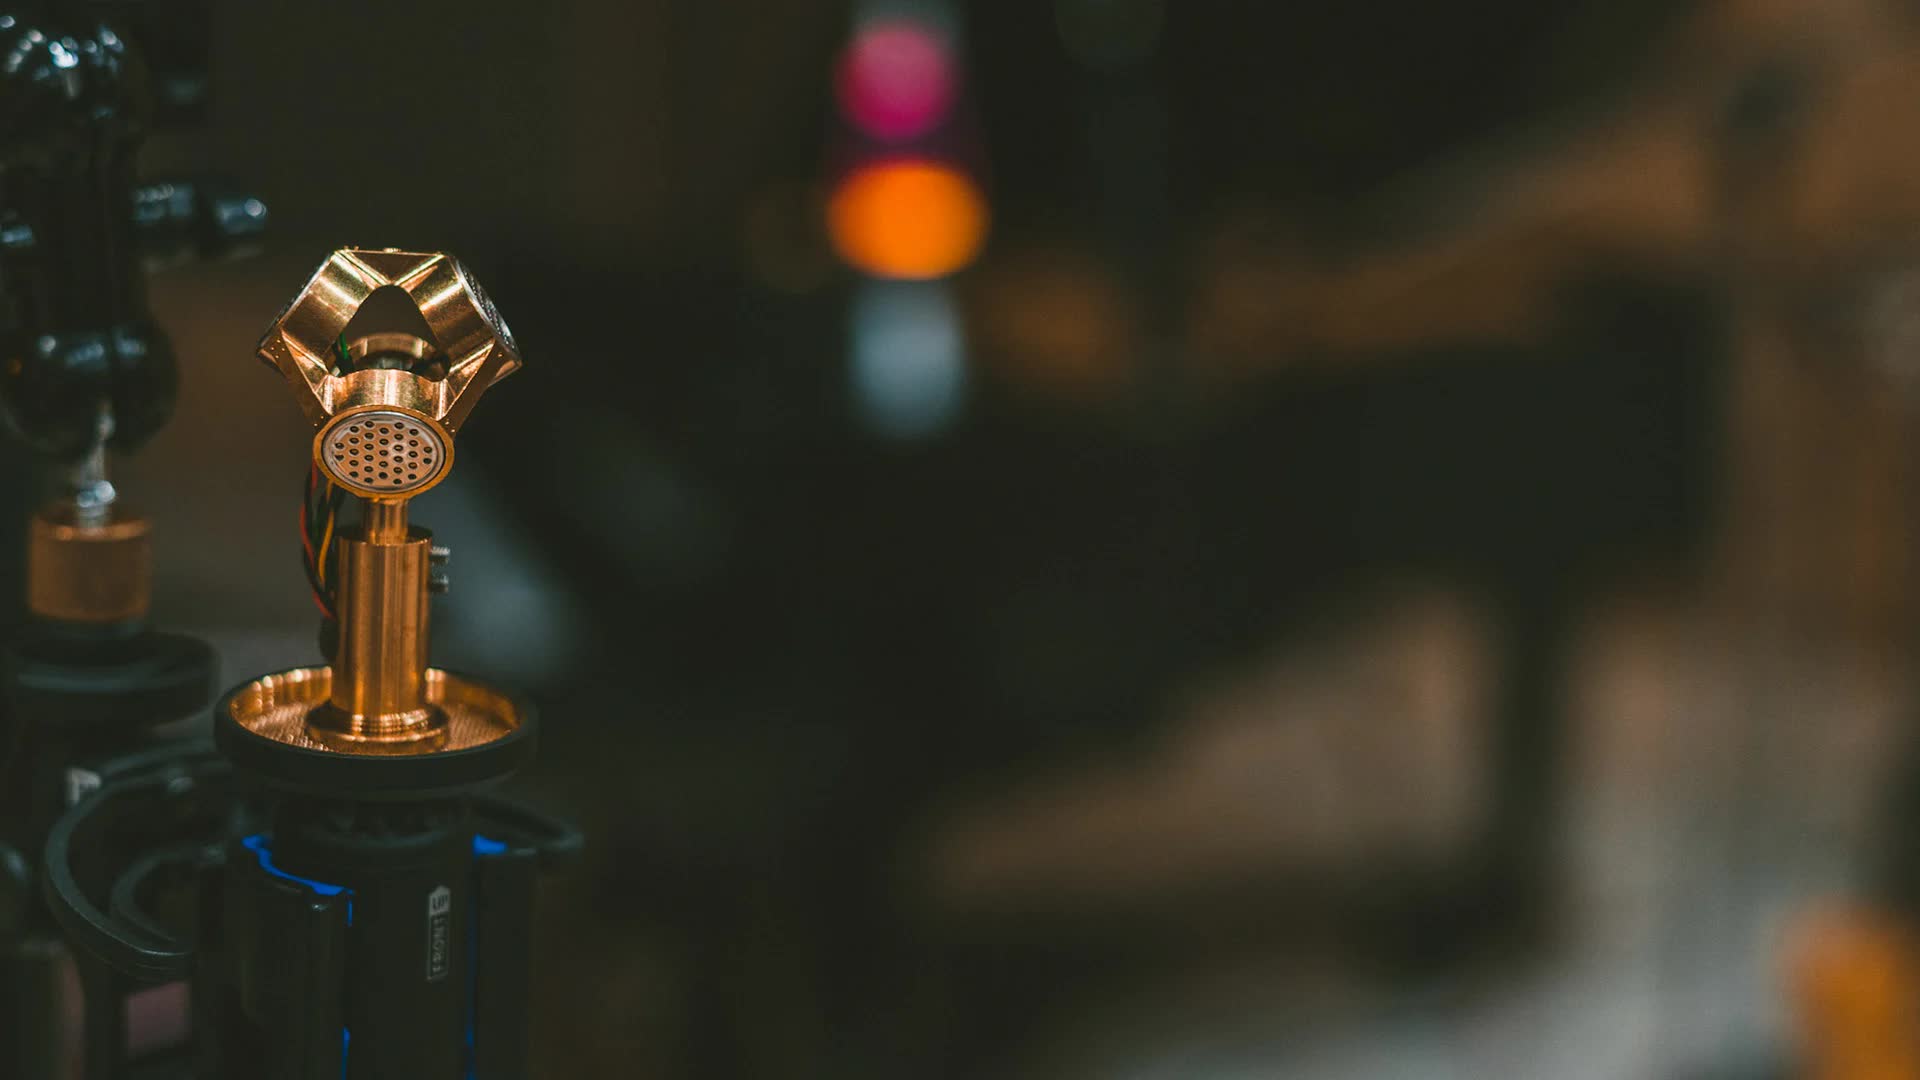
The actual production took place in Columbia Studios A, which afforded us the space to arrange our set the way we needed and offered necessary equipment such as the Starbird SB-1 stand and Pro Tools HD. We tracked spot microphones and a 5.0 surround microphone array (OCT 5:Optimized Cardioid Triangle) as well as a 1st order ambisonic microphone (Sennheiser AMBEO). Monitoring consisted of five active Yamaha HS5 speakers and one active KLH subwoofer arranged with the Center channel speaker angled facing from a North direction at +90˚, Left and Right channel speakers arranged ±30˚ from North, and the Left-surround Rear and Right-surround Rear channels ±110˚ from North. Additionally, we had a headphone output set to monitor our ambisonic output decoded to binaural using the dearVR Ambi Micro plugin. The primary concern with capturing the surround/ambisonic audio was to ensure that we used matching pre-amps with stepped-gain pots and low distortion. We opted to use the 8-channel Millennia HV-3D for all the reasons mentioned.
After listening back we noticed what was to be expected: a raised noise floor due to the stacked surround/ambisonic tracks recorded per performance, as well as a naturally occurring chorusing between the spot microphones and the ambisonic microphone. With this came a general unhappiness with some portions of the vocal performance. In any other circumstance these issues are simple to address, however within the context of our 3D audio project they quickly became complex. In order to address the noise floor it meant filtering out our surround/ambisonic microphones. Doing this would affect the sense of presence and would also affect the imaging for the spatializing process later on. To address the issue of chorusing would mean choosing between surround/ambisonic recordings or specific recordings from the spot microphones, with this we’d lose so much information.

Solving Noise Floor and Chorusing Issues
To solve the noise floor and chorusing issues we went back to Columbia Studios and recorded ambisonic impulse responses of the room, these would later be used with an ambisonic 3D convolution reverb called AmbiVerb. To capture the impulse responses of the room meant that we had to stage it as closely to the day of the shoot in order to capture similar reflections. The Impulse responses were recorded using the same Sennheiser AMBEO microphone and the same Millennia HV-3D mic pre-amps. The first pass of impulse responses were sine wave sweeps outputted to an active Yamaha HS8 speaker placed at each performance position in the space and recorded using Pro Tools. The next pass of impulse responses came from balloons, which were also placed at each performance position. I took two different kinds of impulse responses for comparison, and I didn’t want to assume that after convolving and deconvolving the sine sweeps that the process would actually work as intended.
After creating impulse responses, comping together the new synced vocal overdub and creating stems within Pro Tools we were ready to start the audio mix. Reaper was the DAW we mixed in because they are extremely flexible and more importantly their integration with dearVR’s products. Mixing 3D audio is multi-faceted with critical steps in between. It starts by planning out what sounds will be spatial and what sounds will remain fixed/unattenuated in a “head-locked” orientation. I decided early on that for our needs the “head-locked” orientation could be particularly useful to us for two situations, the first being it could be a bus to send low-end information, similar to a LFE channel and remain mono, and second would be to act as a bus for traditional stereo auxiliary effects like reverbs and delays which could retain panning automation that stays consistent regardless of where a viewer decides to turn their head; if the delays and reverb were spatialized the perception of those effects surrounding the viewer could unintentionally misdirect them, by ‘telling’ or ‘cueing’ them to look in any one direction.

Using dearVR’s plugins and Spatial Connect software, a mixer can set up their binaural monitoring in headphones and then the head-tracking and video feed via their headset. The mixer can then begin placing audio sources in 3D space relative to where the action in the video is taking place. I experimented with a combination of stereo instrument buses, however I found this only to be effective on instruments that relied heavily on stereo-recorded information, such as a piano or a direct input source like a stereo synthesizer. For instruments like drums with a high number of spot microphones I decided to do away with the stereo busing and use its mono sources positioned to where each part of the instrument sat in relation to the video. I had mentioned earlier the need for impulse responses for a 3D convolution reverb. Without the convolution reverbs I can liken the sensation of just hearing the direct signals to being surrounded by speakers outputting sounds in an anechoic chamber. The spot microphones added the direct sound that was needed however failed to provide accurate reflections of the acoustic space and using the recorded information from the shoot day created chorusing and harshness. By utilizing 3D convolution reverbs with the gathered impulse responses from the balloons, I could artificially create a reverb that closely modeled the room we recorded in. Now this was only meant to be functional in that the reverb could help to fill the gaps and get rid of the unnatural lack of reflections. Each instrument at every position had its own 3D convolution reverb bus, with a parametric EQ at the front end to help sculpt the frequency response of the reverb to taste.

The final audio files created were one 16 channel ambisonic file (3rd order) and one head-locked stereo file. A 3rd order ambisonic file was important in that it offered more spherical harmonics which translated to less noticeable filtering of the audio in addition to a greater angular resolution between the audio sources when decoded. However, because we used a greater number of channels it meant needing a middleware solution that could accommodate that. Wwise seemed to be the obvious choice for us as they offer that capability and a license of Auro3D which meant acceptable decoding to binaural.
Though going the Wwise route meant extra steps it was the most effective way we could get the quality we wanted. In our opinion, 1st or 2nd order just does not sound good when using recorded instruments in an acoustic space. There’s too much coloration and other forms of distortion which is detracting from an experience. Now most of the techniques we used came out of necessity, however applying similar techniques, like using the head-locked stereo as a “bed” so to speak has major advantages; It’s how I approach mixing 3D music not-to-video currently.
The App is available on the the App Store and can be viewed using this link. For questions regarding your own content, Robert and myself both can be contacted via our webpage.